Building a Smart Lock Using Python and LEGO EV3: A Guide
Written on
Introduction to the Smart Lock Project
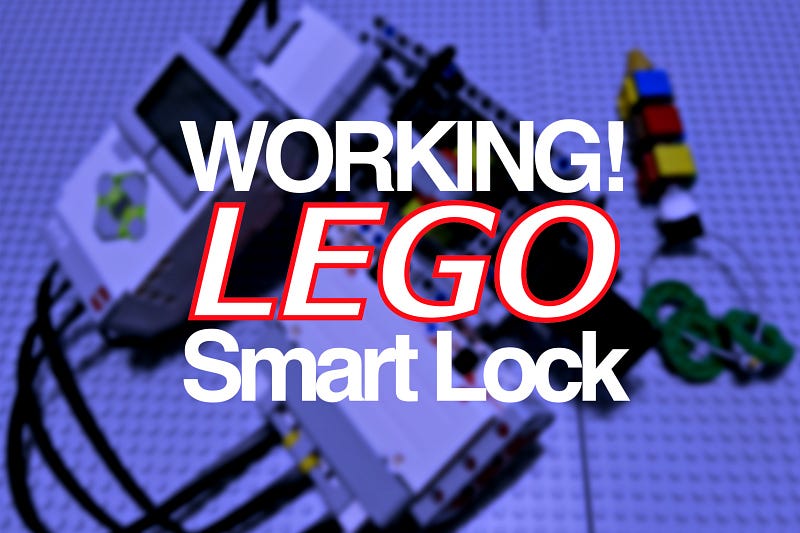
This guide outlines how to construct a functioning smart lock utilizing LEGO’s EV3 brick and basic Python programming.

To embark on this project, you'll need a LEGO EV3 brick, around 150 Technic parts, a laptop, and a bit of Python knowledge. Inspired by the LockPickingLawyer on YouTube, I aimed to create a smart lock featuring a variable color-coded key—a concept that intrigued me for weeks.
The Unique Concept of a Color-Coded Key
You may wonder why I chose a color-coded key. The simple answer? Because I could! I was inspired to design a key that could change its configuration, allowing for multiple combinations. I opted for seven colors: white, red, green, blue, yellow, brown, and black, with white serving as a "security pin" to mislead potential intruders. This results in 343 different permutations since colors can repeat.
The most ingenious aspect of this design is that the key elements can rotate freely, ensuring that the colors become mixed up once the key is removed. This adds a layer of complexity, making it difficult for anyone else to replicate your key.
Understanding the Color-Coded Key
What is a variable color-coded key? Essentially, it’s a programmable key that allows you to alter the configuration, providing numerous options. In my design, the key can generate a broad range of combinations to enhance security. For instance, if you select red, blue, and yellow, attempting to unlock the door with yellow, red, and blue will result in failure.
Prerequisites for Creating an EV3 LEGO Smart Lock
To construct the smart lock, you will need the following essential components:
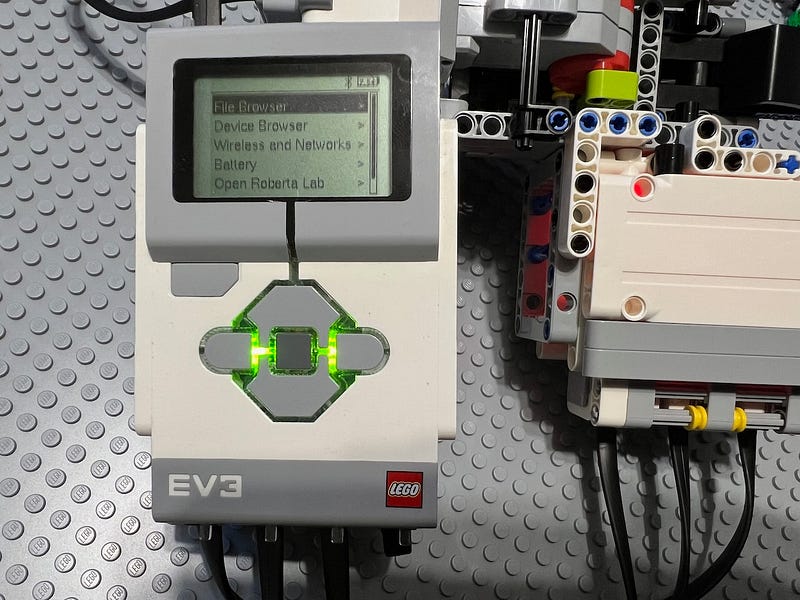
- LEGO EV3 Brick: This is crucial; only the brick from set #31313 or the educational edition set #45544 will suffice.
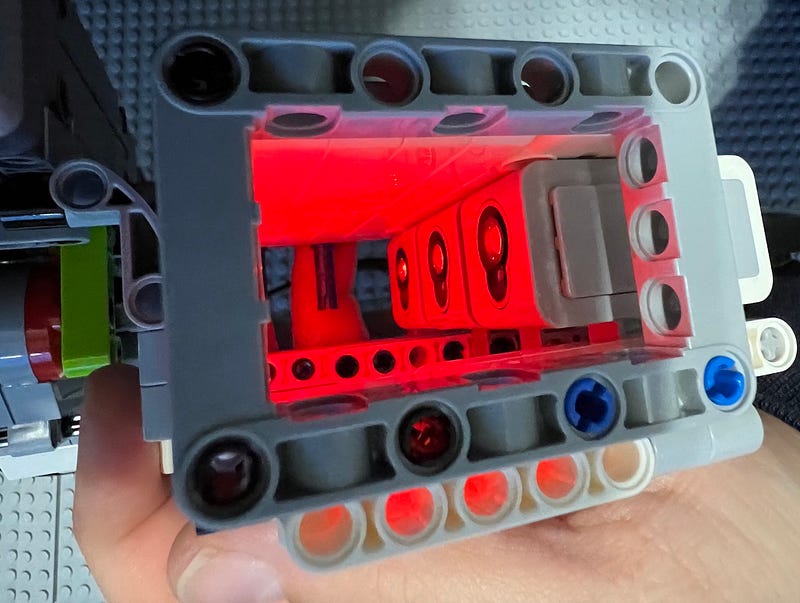
- Light/Color Sensors: Ideally, you should have three of these. One can work, but it complicates programming.
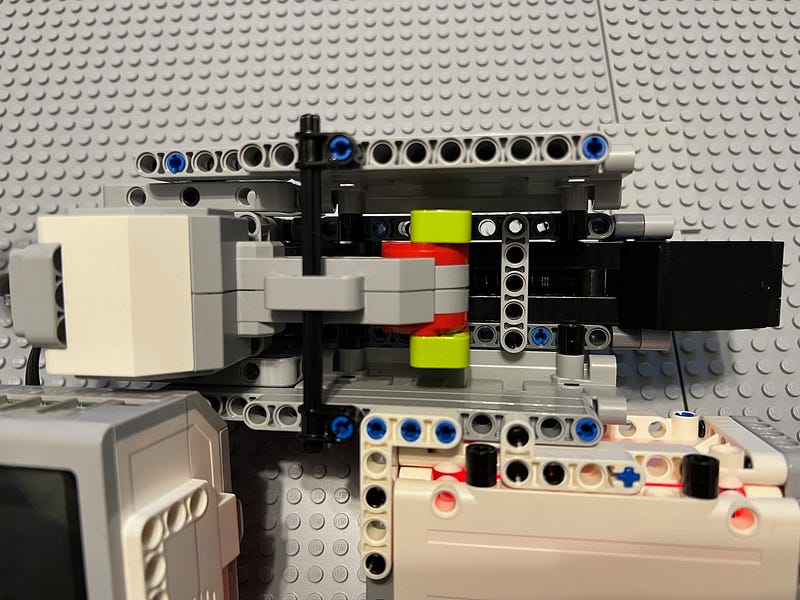
- Large EV3 Servo Motor: This will operate the lock mechanism.
- Touch Sensor: This allows for manual resets of the system.
- LEGO Bricks: While Technic bricks are preferred, you can use any LEGO bricks.
- Basic Python Knowledge: Familiarity with Python is helpful for coding the lock's functionality.
- Computer: A simple Raspberry Pi or a Mac/Windows machine will work.
- MicroSD Card: A card with 2 GB or larger capacity is required.
Goals and Features of the Smart Lock
The primary goal evolved from merely recognizing colors to creating a fully functional smart lock. The acceptance criteria included:
- Recognizing three colors and moving the LEGO mechanism accordingly.
- Ensuring that the order of colors affects security.
- Keeping track of failed attempts and triggering actions after a set number of tries (three in this case).
- Incorporating a setup mode for new installations.
- Allowing for a reset mode when the lock is unlocked.
- Featuring a self-locking mechanism.
- Implementing a security pin that is ignored by sensors.
How the Smart Lock Works
When you first install the smart lock, it will automatically lock behind you. On initial setup, the lock will prompt you to configure your desired color combination. The sensors will read and save these colors. If the key is set to a different combination later, it will notify you of the incorrect sequence and advise you to retry.
If you wish to reset the combination, simply push back on the tongue while the door is open to enter reset mode, allowing you to set a new configuration.
You can observe the entire user journey (minus the reset) on my Instagram or TikTok, and feel free to review the code, which is concise and under 100 lines.
This video demonstrates the process of building a Raspberry Pi Smart Door Lock Security System, showcasing the integration of technology and security.
Implementation Code
Below is a simplified version of the Python code used for the smart lock:
from ev3dev2.motor import LargeMotor, OUTPUT_A, SpeedPercent
from ev3dev2.sensor import INPUT_1, INPUT_2, INPUT_3, INPUT_4
from ev3dev2.sensor.lego import TouchSensor, ColorSensor
import time
from ev3dev2.sound import Sound
# Initialize sound and components
spkr = Sound()
lockMotor = LargeMotor(OUTPUT_A)
keyOne = ColorSensor(INPUT_1)
keyTwo = ColorSensor(INPUT_2)
keyThree = ColorSensor(INPUT_3)
readWriteToggle = TouchSensor(INPUT_4)
# System messages
messages = {
"start": 'Starting smart lock...',
"unlock": 'Unlocking door now.',
"incorrect": 'Warning. Incorrect key.',
"try_again": 'Please try again.',
"new_lock": 'New lock detected. Entering setup mode.',
}
spkr.speak(messages["start"])
# Additional code goes here...
Conclusion
I am thrilled to have developed this prototype over a couple of evenings. LEGO Mindstorms has always been a passion of mine, and I believe it remains one of the most accessible tools for robotics and automation. LEGO's decision to discontinue this line is a significant loss for the community.
What are your thoughts on my LEGO smart lock? How would you enhance its security features?


This video showcases the use of Python with LEGO EV3 for motor control and remote operation, highlighting the capabilities of the LEGO EV3 platform.